A kitchen with an island is many people’s dream; if it is yours too, you are in the right place: in fact, today, I want to give you some ideas to design the right island for you!
People usually opt for a kitchen with an island when they have an open-plan kitchen-living space because the island is that element that, on the one hand, optically divides the two functions and, on the other, allows the cook to be able to relate to family members or guests.
(If you are interested in other ways to optically divide an open space, I talk about them here!)
You don’t need to have a generously sized house to be able to design a kitchen with an island, but for it to be truly functional, you will need to study the space properly!
The island can be designed as an extra storage element with a respective countertop (and perhaps snack top) or as a full-fledged “operating” station with a sink and/or stove.
However, the second case will only be possible if a proper renovation is done because connections and drains must be arranged!
MEASUREMENTS
An island with both a sink and stove will obviously have larger dimensions than one with nothing or only one of the two!
The dimensions for an island equipped with both elements must be at least 200cm long and at least 120cm deep to be functional.
On the other hand, an island with only the burners or the sink may be a little shorter until it reaches the 90cm recommended for a simple countertop island.
The island without appliances may also be narrower, limited to the depth of the cabinet, that is, 60cm.
The minimum distances from other elements must also be kept in mind when choosing the right size of the island.
If there are walls on the sides, the required distance is 85-90 cm to let the passage around the island be comfortable.
Instead, the distance to the kitchen is 100-120 cm to make it easy to open doors and drawers.
On the other hand, the height of the island will be the same as the height of the kitchen bases, so 85-90 cm.
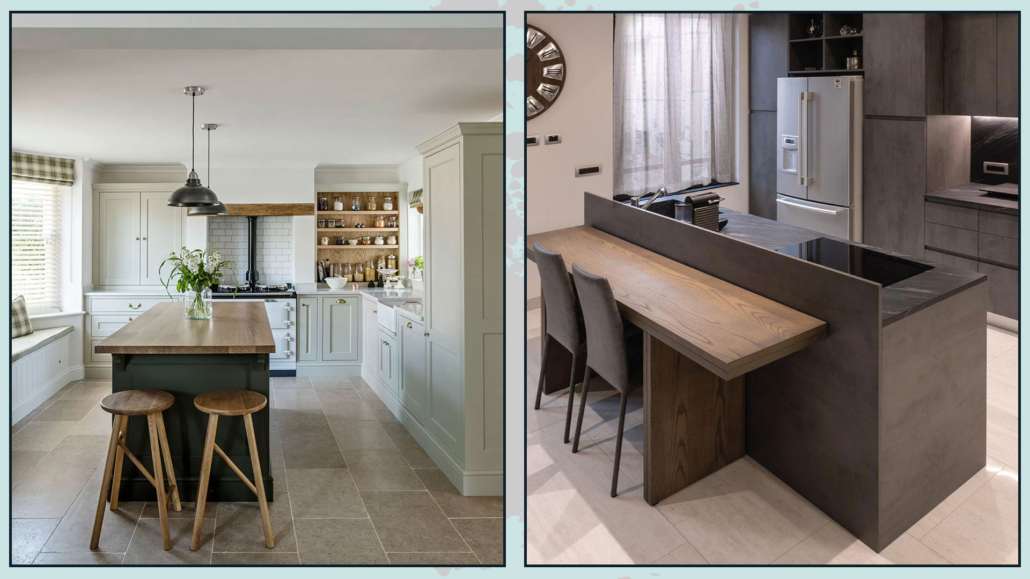
(credits: middleton-bespoke.co.uk; diotti.com)
HOW TO DESIGN THE REST OF THE KITCHEN
Depending on the size and shape of the room, the kitchen behind the island could have 3 forms: linear, L-shaped, or U-shaped, precisely as if the island were not there.
Having an island, especially an operational one, will allow more cabinetry, perhaps with interlocking appliances, and thus more storage space.
Cooktop, sink, and countertop, in fact, can be concentrated exclusively on the island!
Of course, appliances, such as the oven and dishwasher, can also be integrated into the island to make them even less visible!
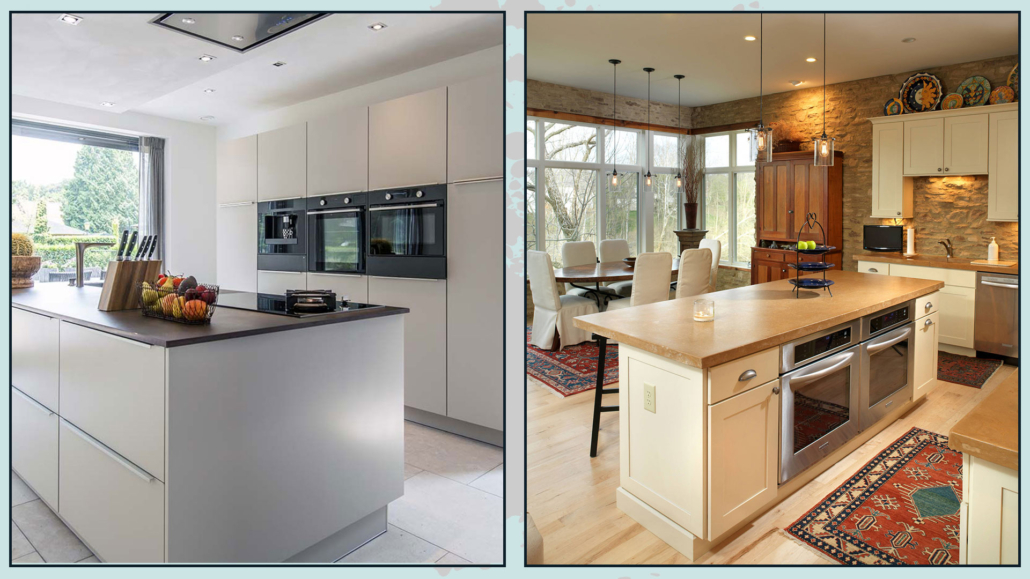
(credits: dekeukendesigners.nl; Melaragno design company)
LIGHTING AND SUPPLEMENTS
Whether it is a countertop-only island or operational, you must adequately light this area!
You can opt for discreet lighting, such as spotlights recessed into a suspended ceiling or a series of pendant lamps placed at equal distances.
If the island is not too big, you can also choose a pretty scenic chandelier!
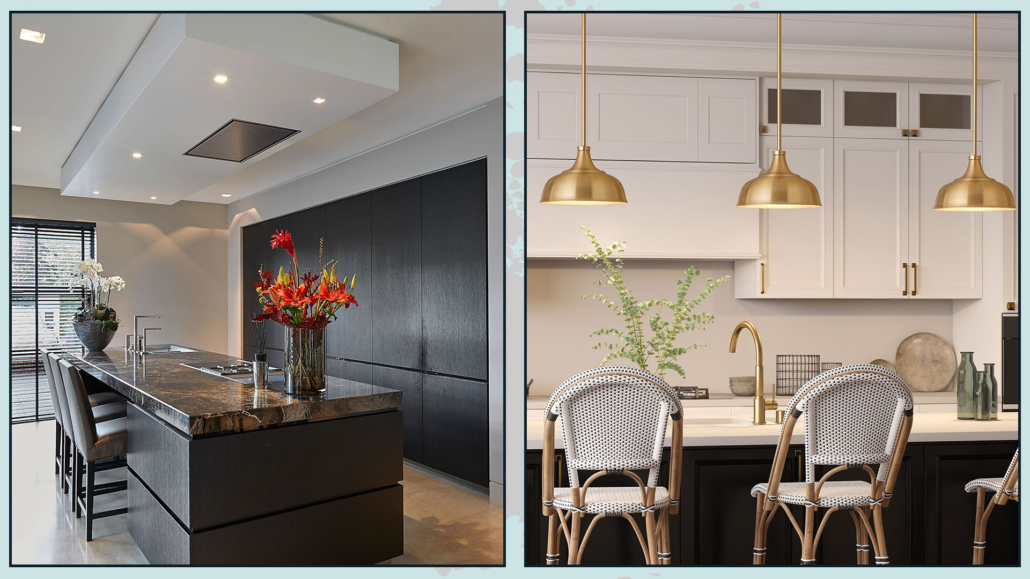
(credits: Eric Kuster; nfm.com)
In case you have the cooktop, be it gas or induction, you will also have to think about the hood!
There are three possible solutions:
– integrated into the top: that is, a retractable element that can be activated as needed;
– integrated into the cooktop, the hood fan is connected below the countertop, thus completely invisible;
– classic hood: this could be integrated into a recess made of plasterboard or free-standing, perhaps using a designer hood.
Another thing to keep in mind is to plan to have a retractable socket on the countertop: it will be functional if sometimes you have to use, for example, the computer!
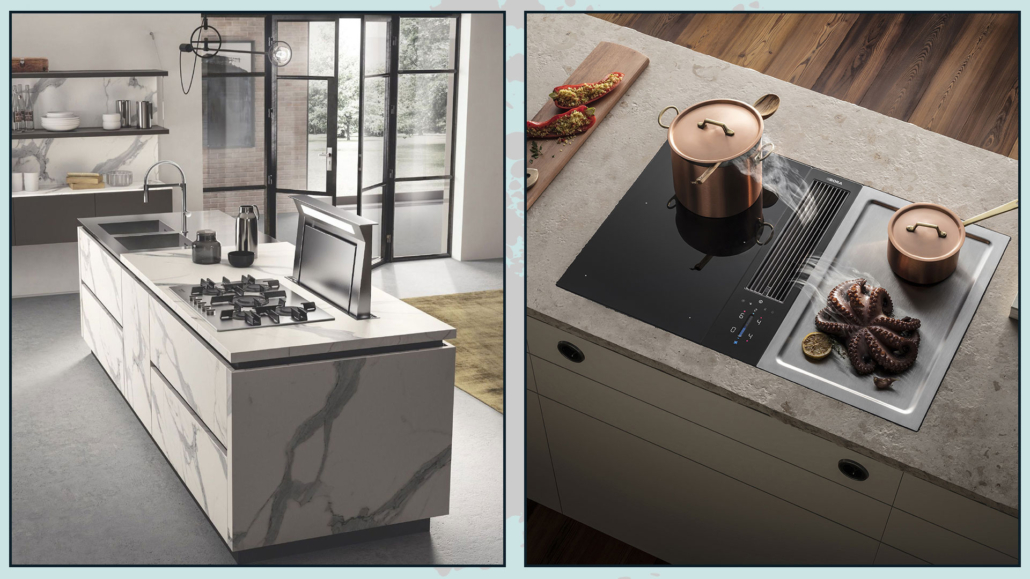
(credits: scavolini.com; bora.com)
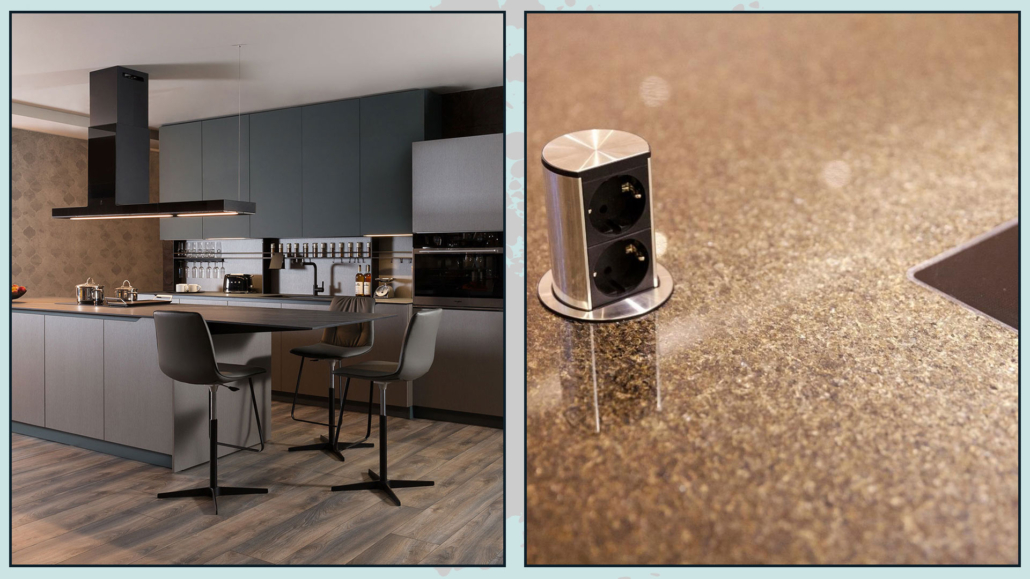
(credits: diotti.com; libertateapentrufemei.ro)
EXTENSIONS
It is rare to see an island that is only operational or countertop: most of the time, a part is used to be able to eat, the snack nook!
Here again, depending on the size, this part can be studied in various ways:
– an extension of the top in-depth, i.e., extending the top by at least 45-50 cm so that there is enough leg room;
– extend the countertop to one side: this will allow seating on both sides;
– a slightly raised extension; this elevation can be of the same material as the countertop or different material to visually differentiate the two functions!
In all these cases, you must remember that the table top will have a height of 85-90 cm, or something more if you make it elevated, so you will have to look for suitable seats to reach the table comfortably!
High seats may be uncomfortable, in which case a lower shelf, that is, at a table height of about 75 cm, can be studied.
You can make it narrow, about 50 cm, if you only want to have it for breakfast or a quick snack, but you could, at this point, integrate the table directly!
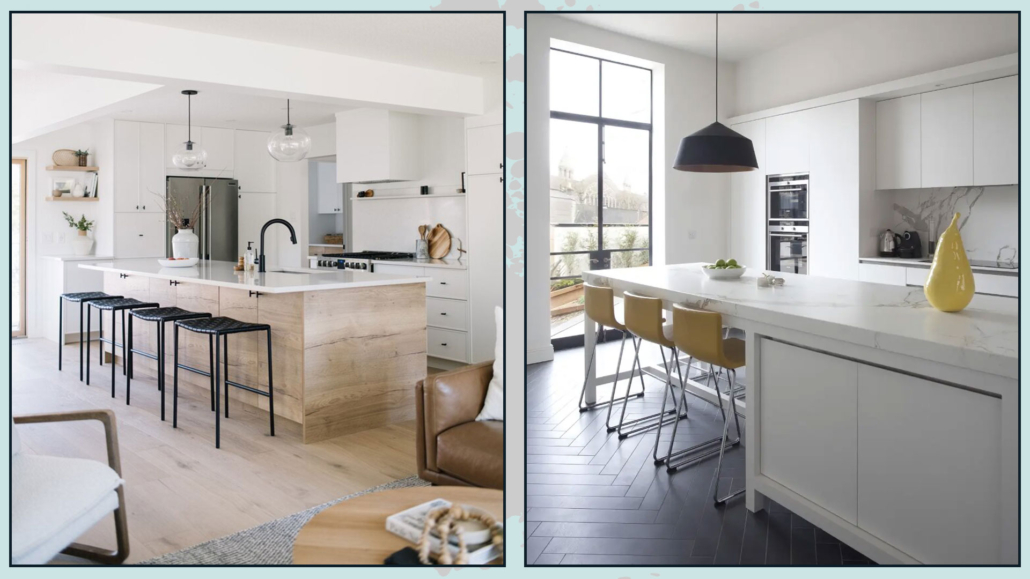
(credits: kresswellinteriors.com; Newcastle Design)
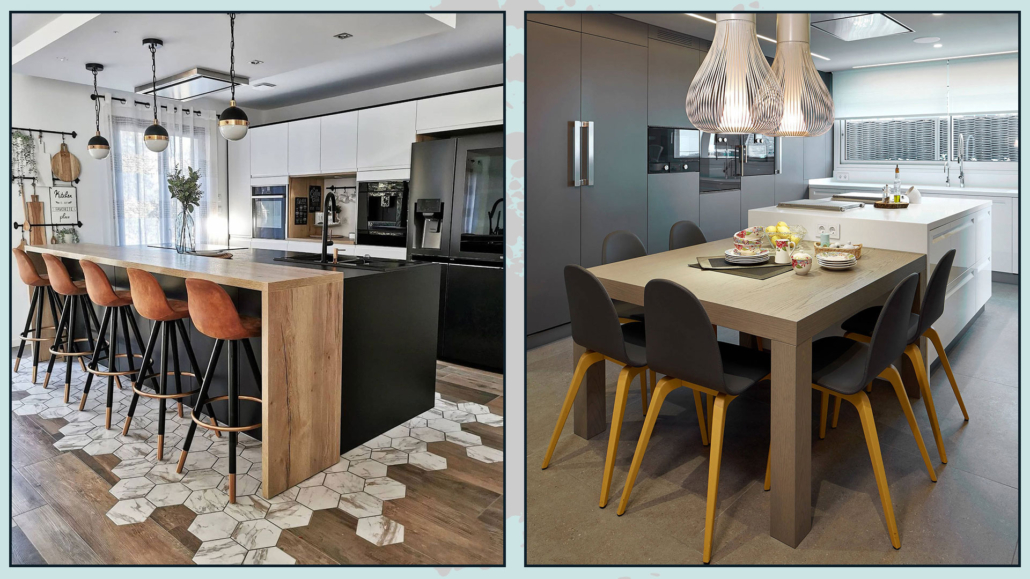
(credits: @elleestpasbellelavie; Molins design)
ALTERNATIVE SOLUTIONS
In case the kitchen is tiny, does one have to give up the island?
Maybe you won’t be able to have a large island or operational, but alternative solutions that can still be viable are possible!
The first is to create a peninsula instead of an island, that is, to have one side resting against the wall or as a corner extension of the kitchen.
That saves you the 85-90 cm required for the passage.
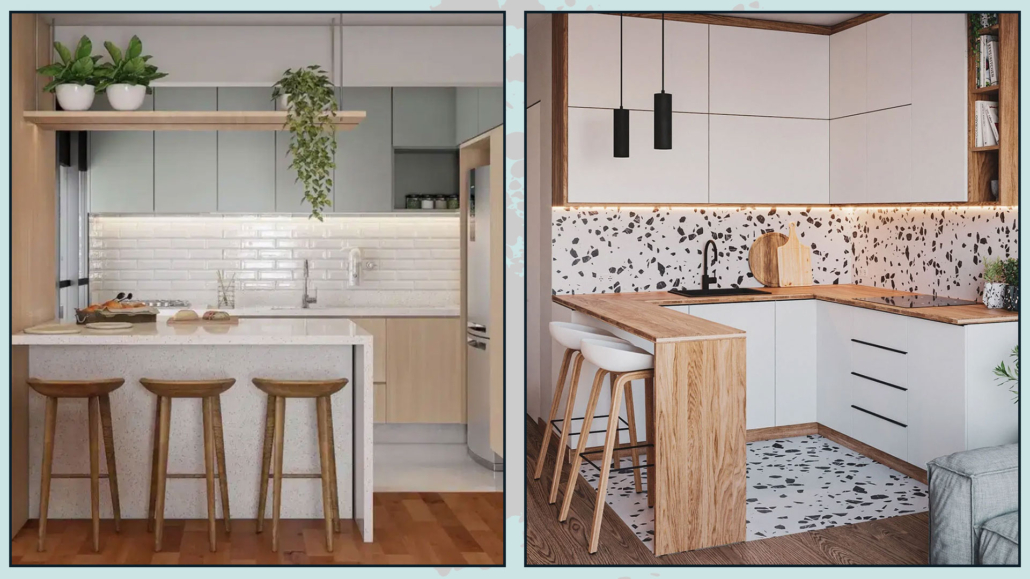
(credits: pillowsandlanterns.com; kouch.es)
You will find furniture or trolleys on the market that can serve as a small island in case you actually need something smaller; they also would be easily moved, when necessary, if they had wheels!
Nothing forbids you to create yourself a small island, for example, by hacking some Ikea furniture! (There are so many ideas online!)
It may not be an actual island, but it’s still a storage element, not to mention an extra countertop/support, and in the kitchen, that never hurts!
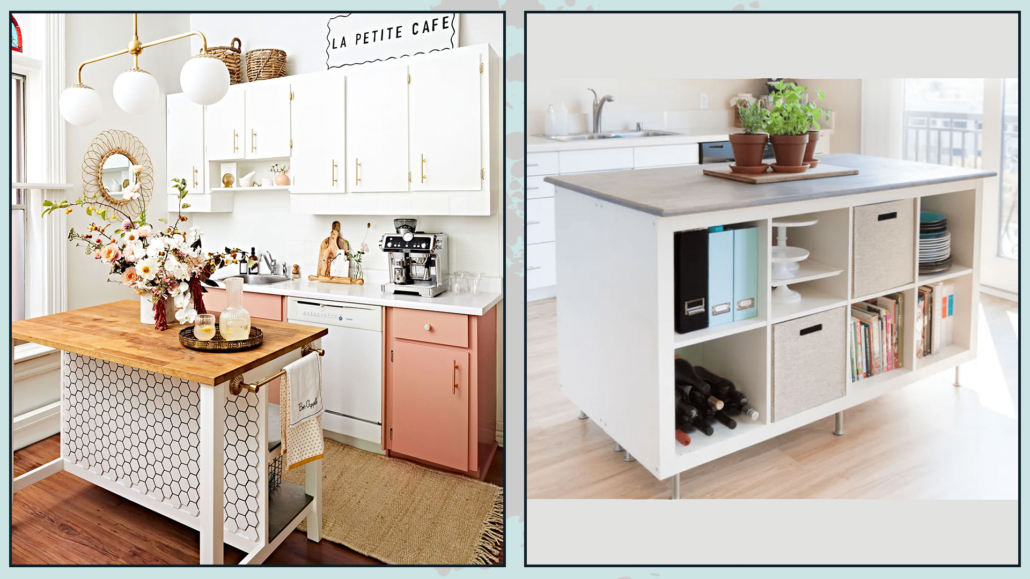
(credits: mayavisnyei.com; kreatinghomes.com)
I hope this article was helpful and you love it; in case, let me know in the comments!
Feel free to share it with anyone you think might be interested, I will be honored, and it will help me get my name out there.
And if you need advice for your home, do not hesitate to contact me!
This post is also available in: Italian





Leave a Reply
Want to join the discussion?Feel free to contribute!